Special Topics Case Study
Research & Activity Documentation
Evan Saisenesouk
Introduction
PLACEHOLDER TEXT, put an introduction to your module 1 research here
Module 1: Concept
Research
Process Doc: https://fixed-circle-6f3.notion.site/P1-Choosing-a-Path-Ideating-2f1f87a692e380bb933bc3d4abf1924f
For Activity 1, we did some rapid ideation to come up with our concept and then followed up with our own individual research using WGSN (while we still had it) and other sources to expand our knowledge of trends, opinions, and tools regarding Game Design. I looked into articles regarding not just gaming but also what makes "play" enjoyable and why do we crave it. I also looked into the rising trend of "retro" style indie games.
I found I gained a lot from educating myself about the state of play and how it benefits people on a day to day basis. I also found my research on retro game trends to be quite valuable to me for inspiration for the art direction of our project going forward, allowing me to understand why games are made in retro pixel art styles and how it could benefit our small team for this project. As for my other team member’s research, it was very worthwhile to see just how varied of articles were explored, I learned a lot about Unity, the psychology of gaming, and sandbox games specifically.
Action Research Phase 1

Action Research Phase 2
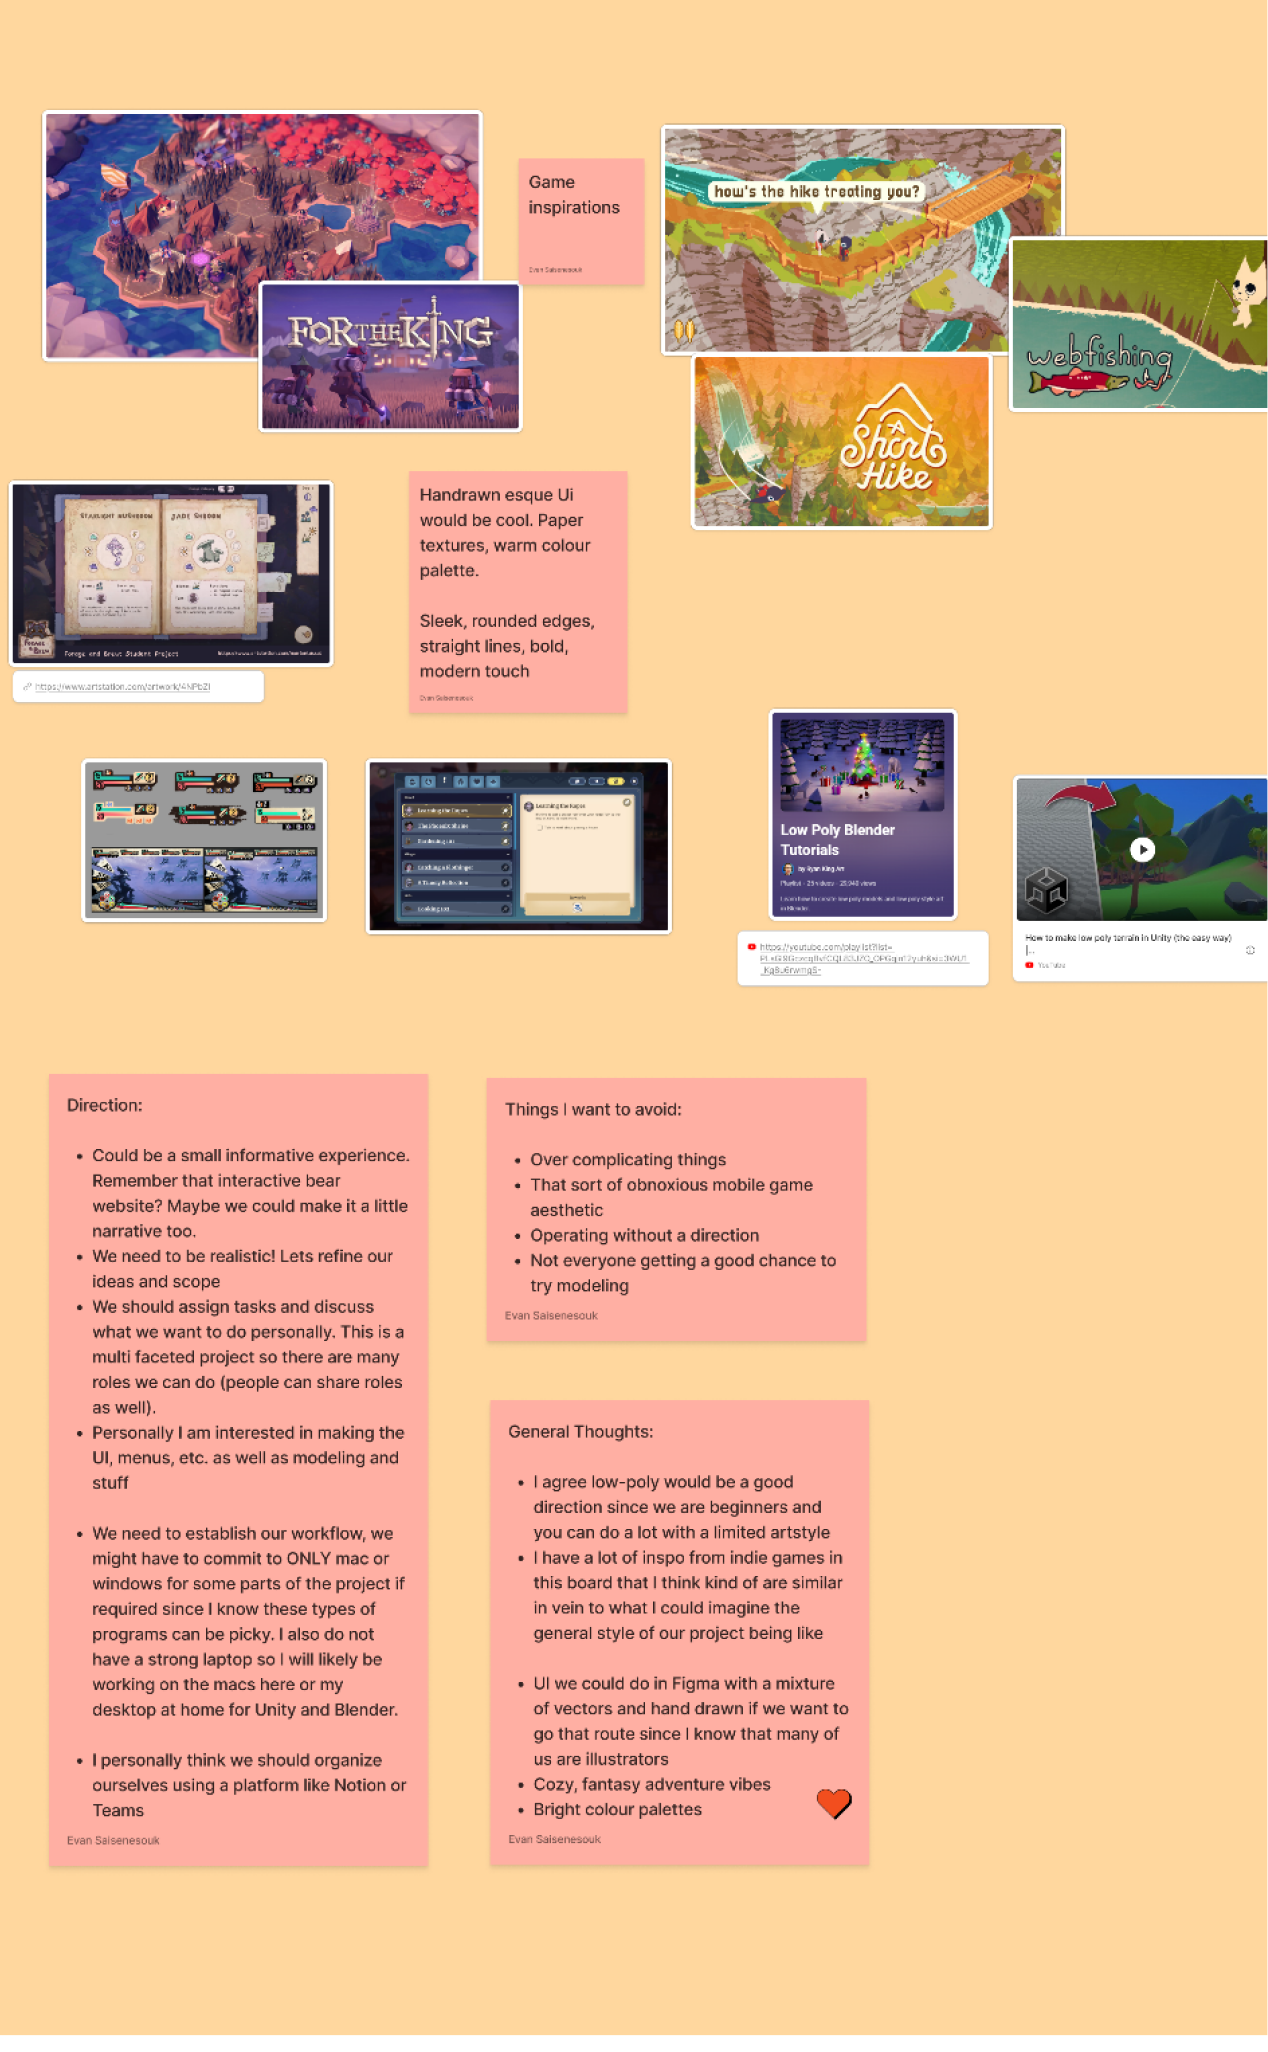
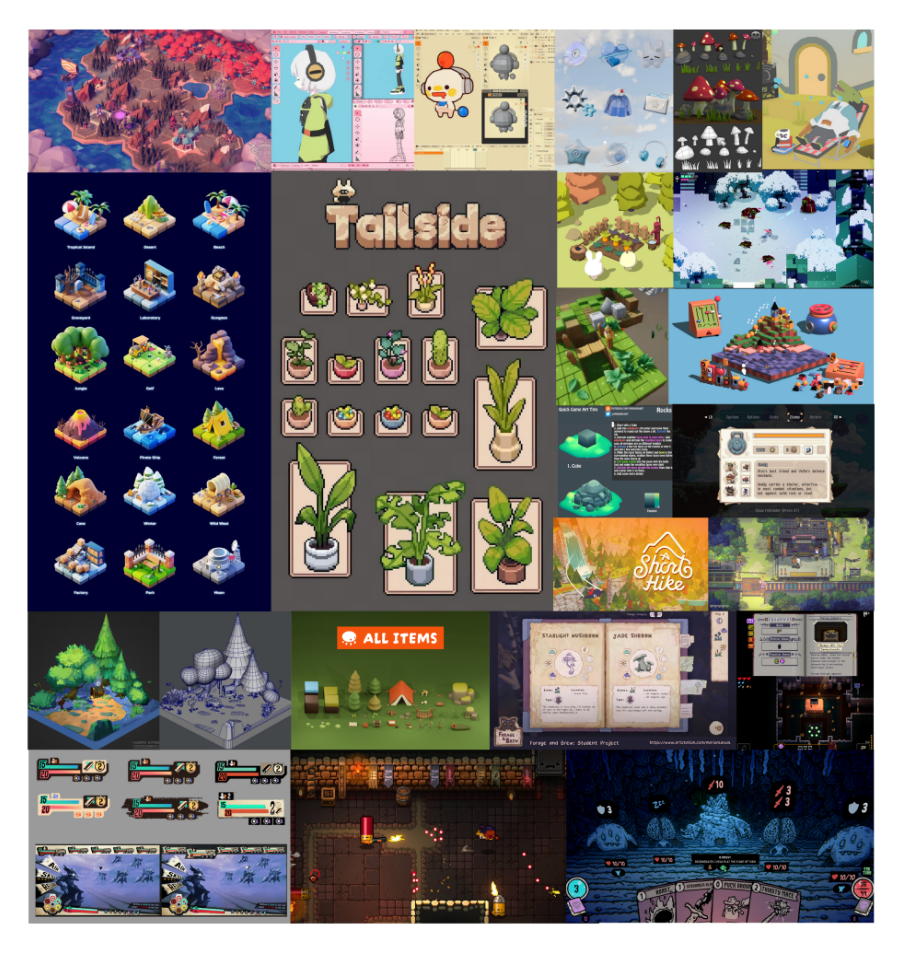
For Activity 2, we explored our inspirations and vision for the project, creating our own personal moodboards of our specific tastes, played games, and wants for the project.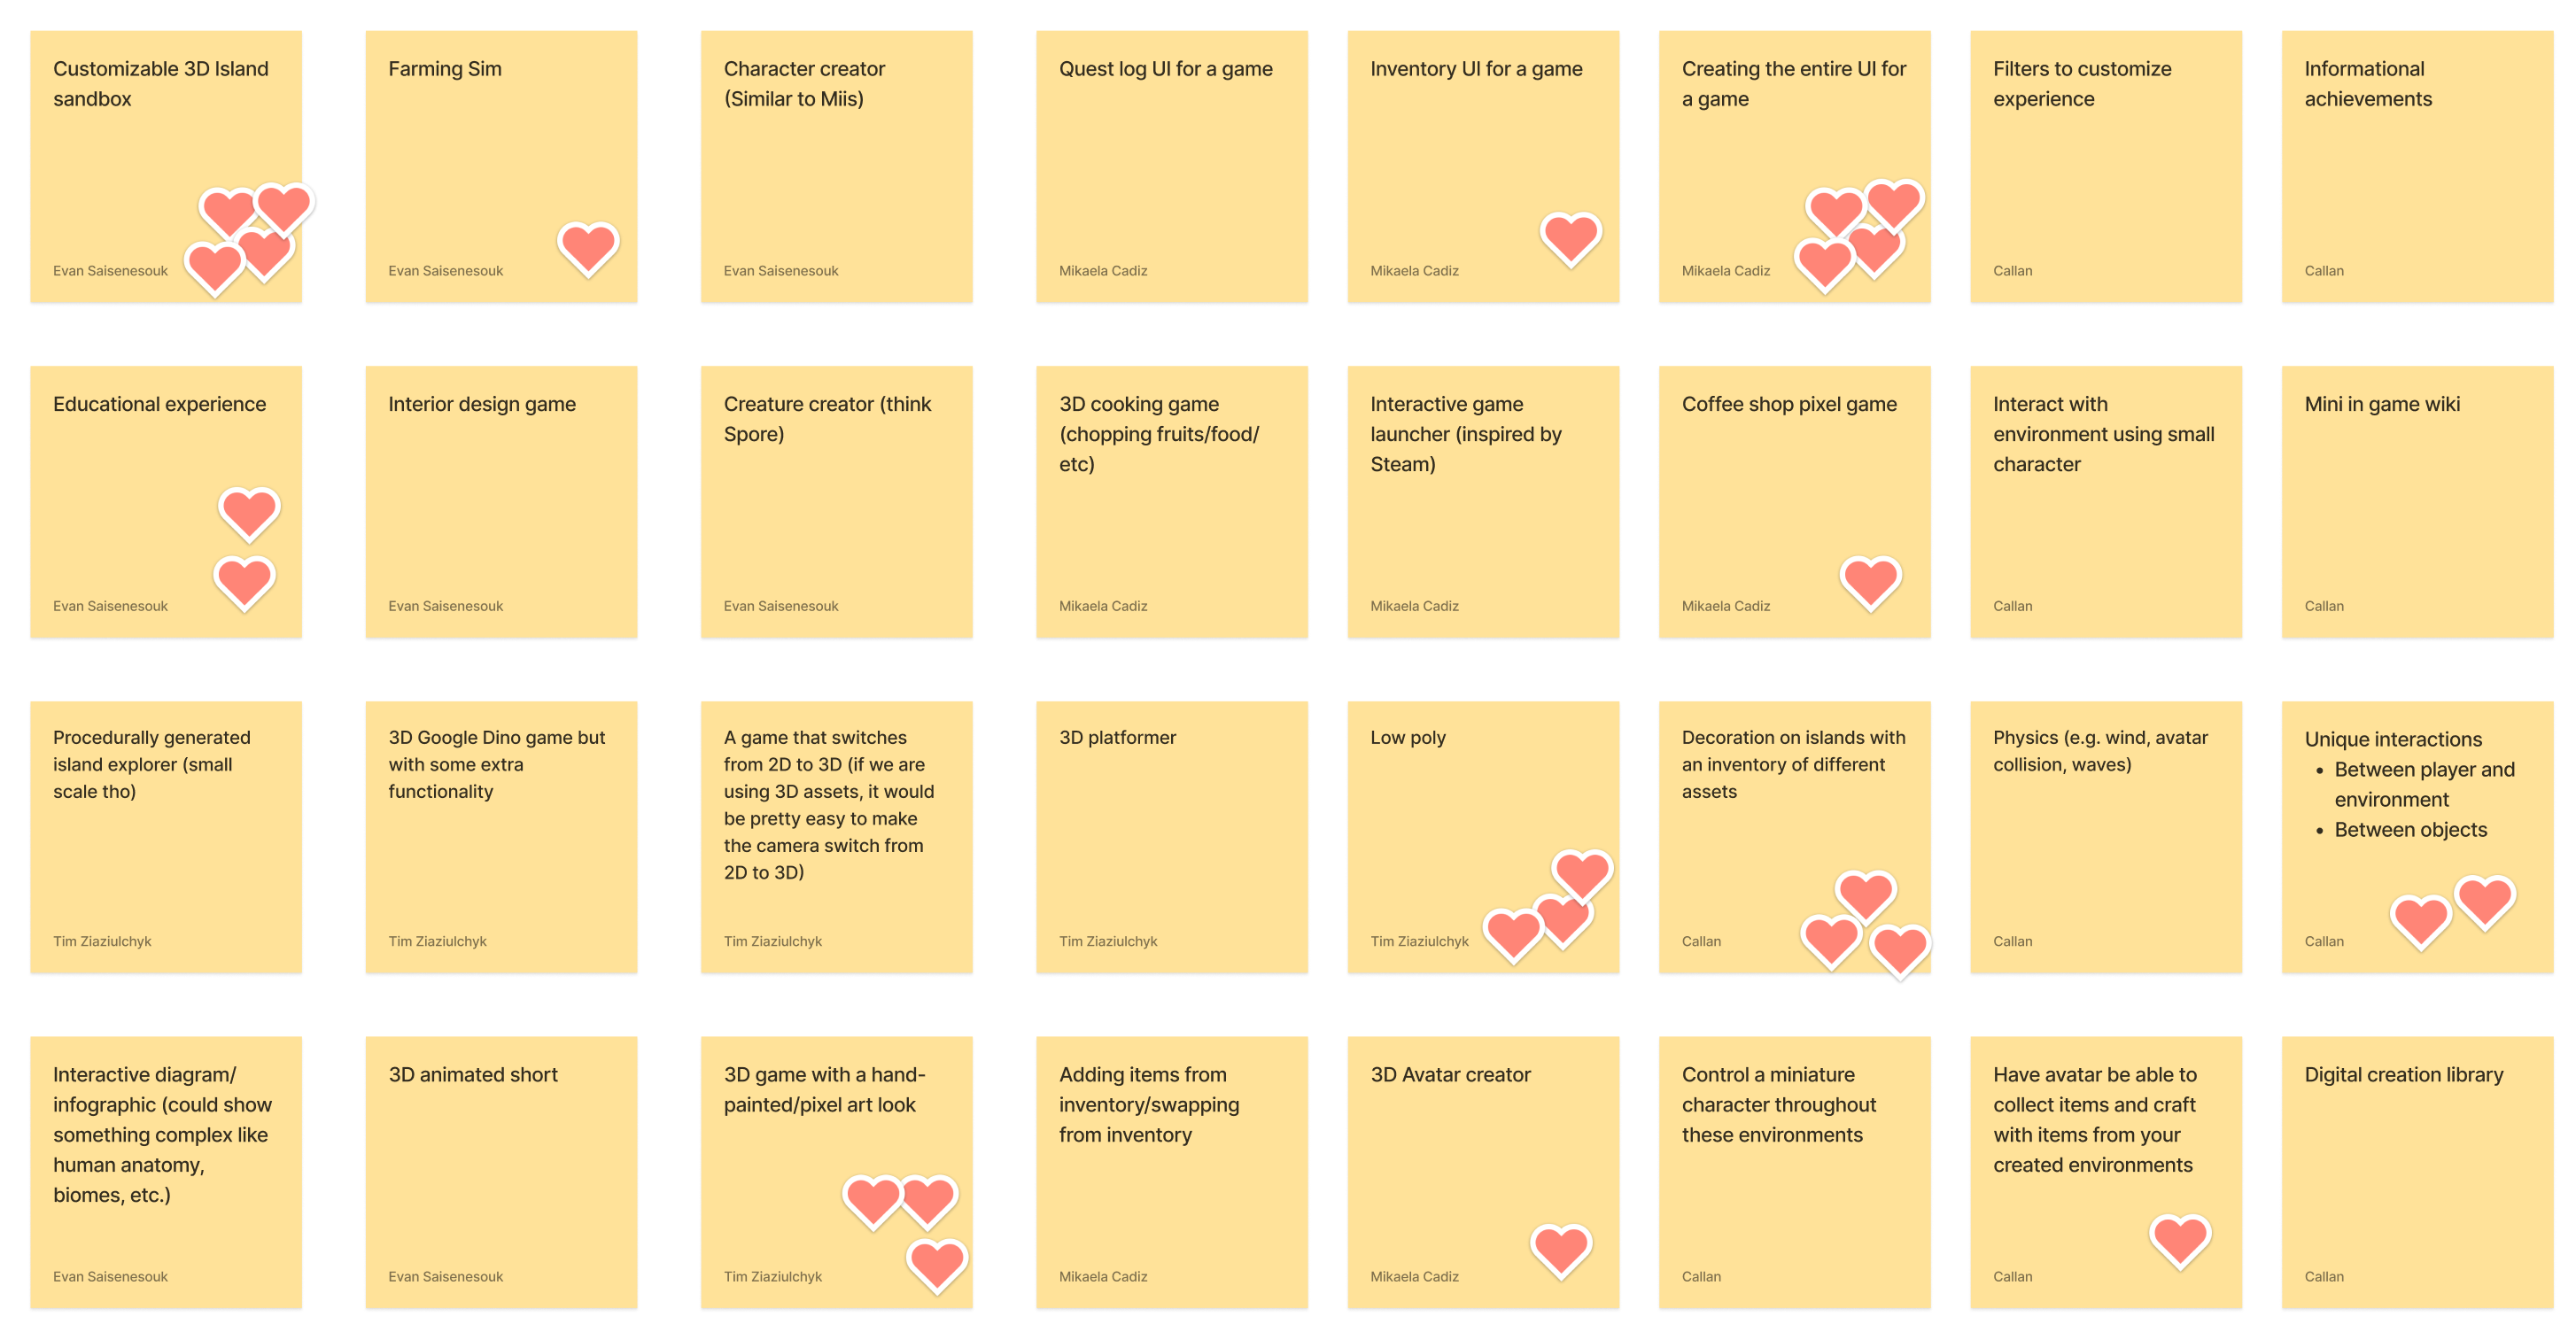
 Project 1: Concept
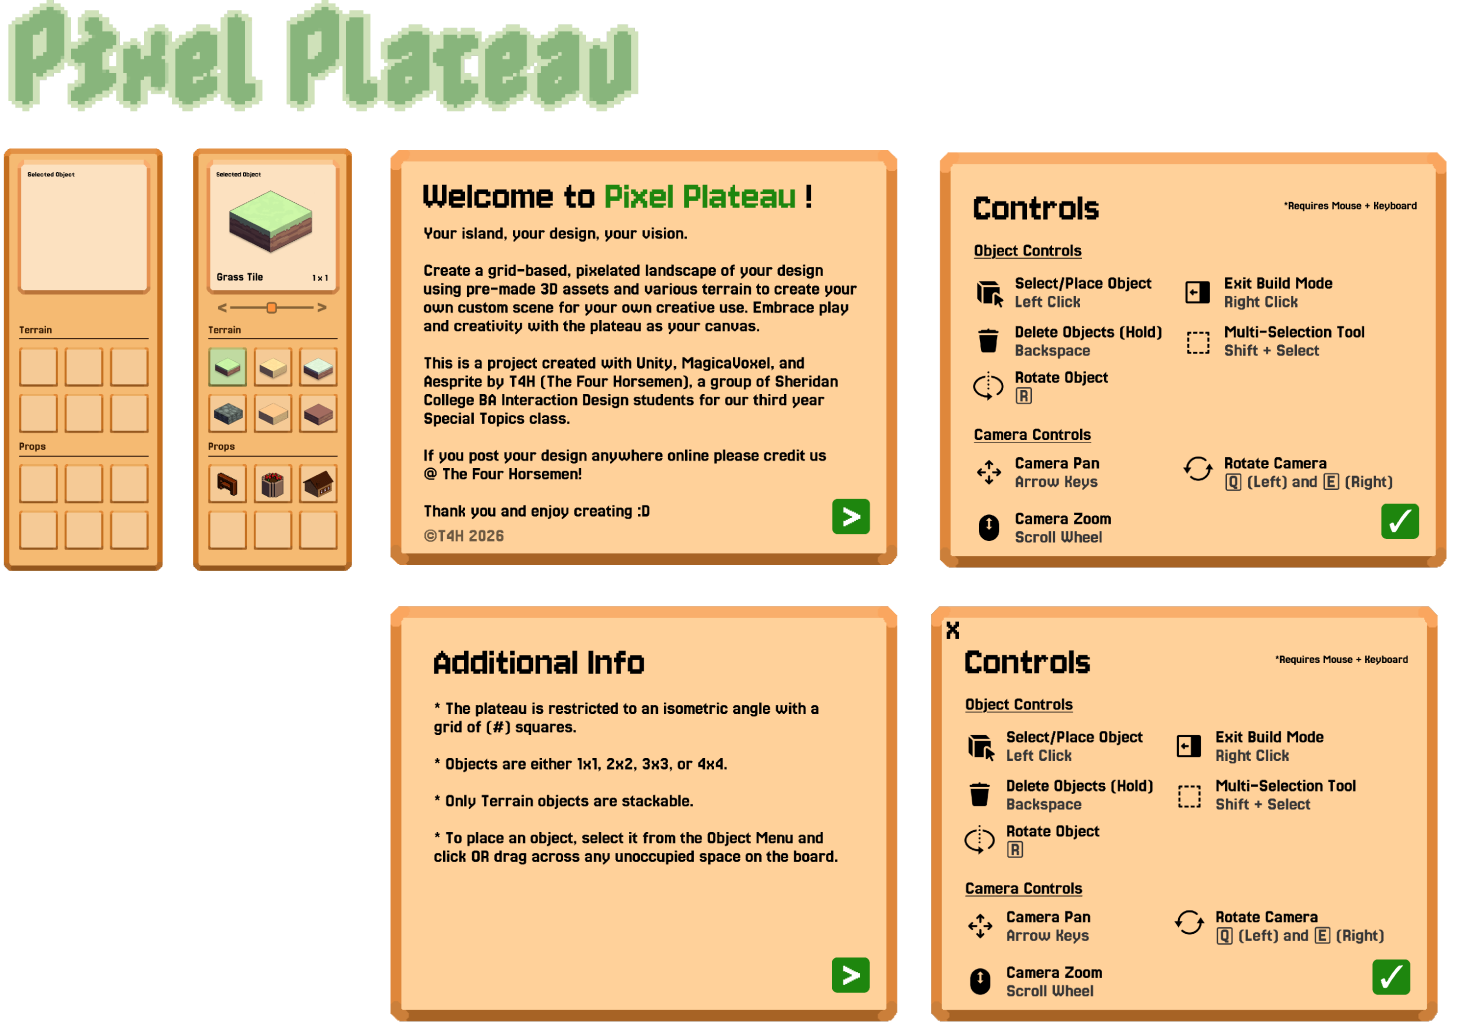
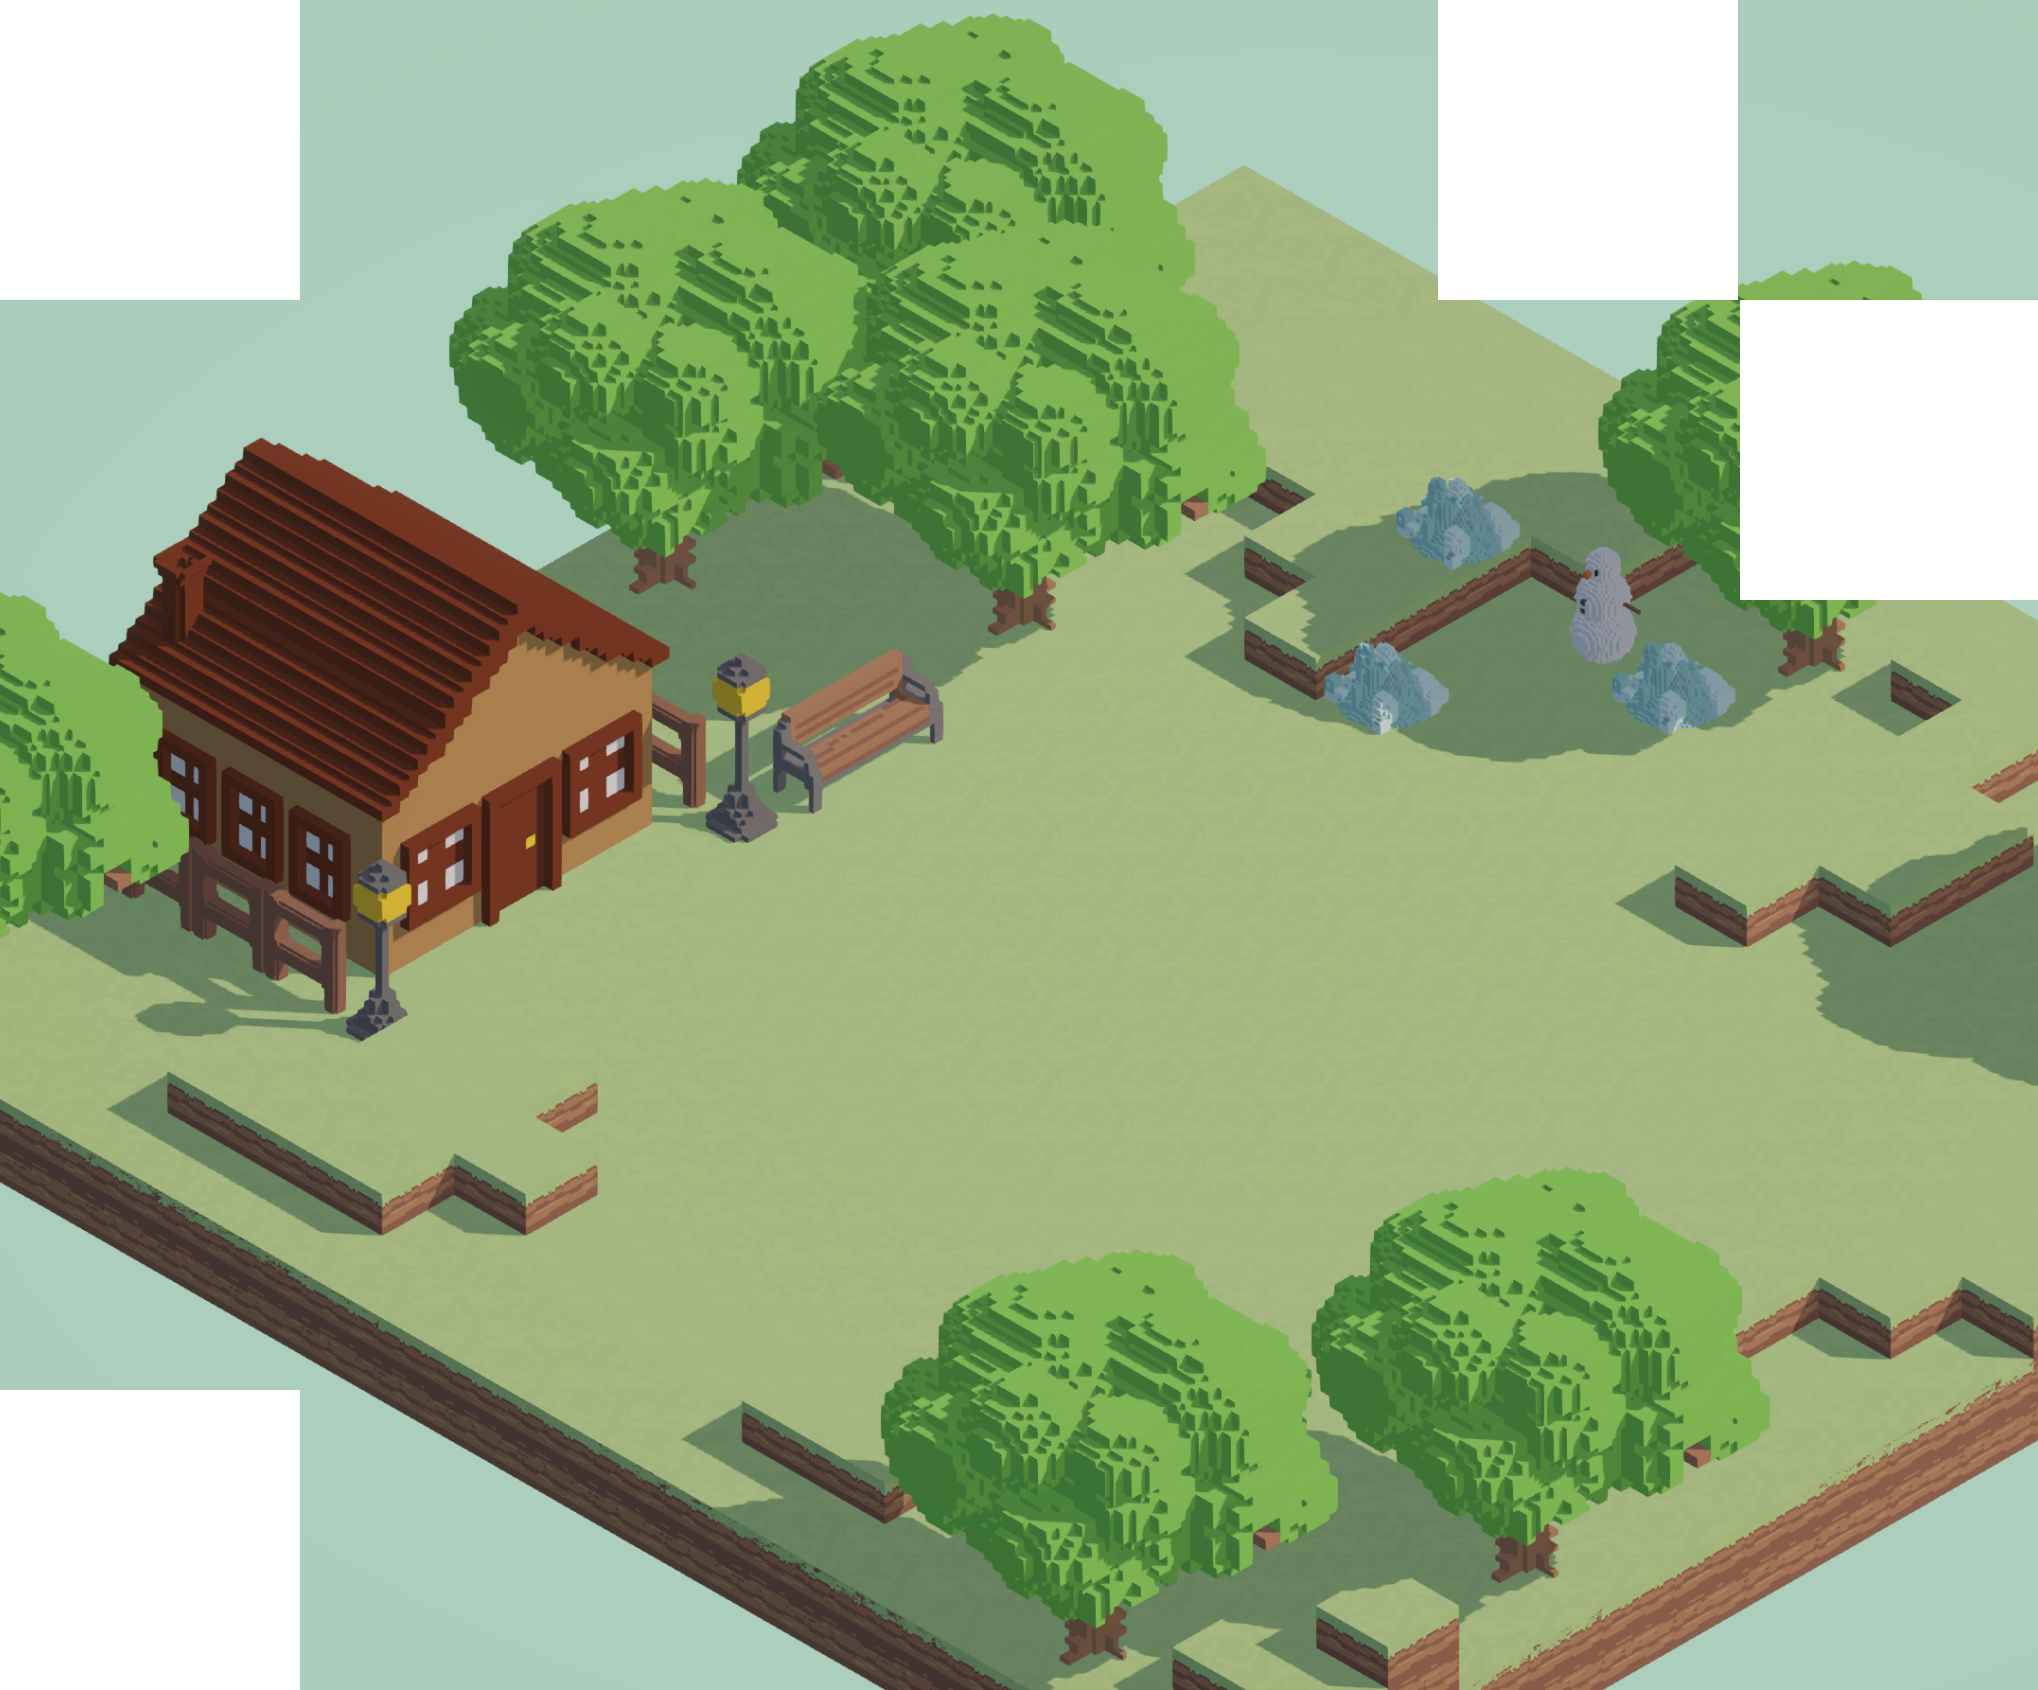
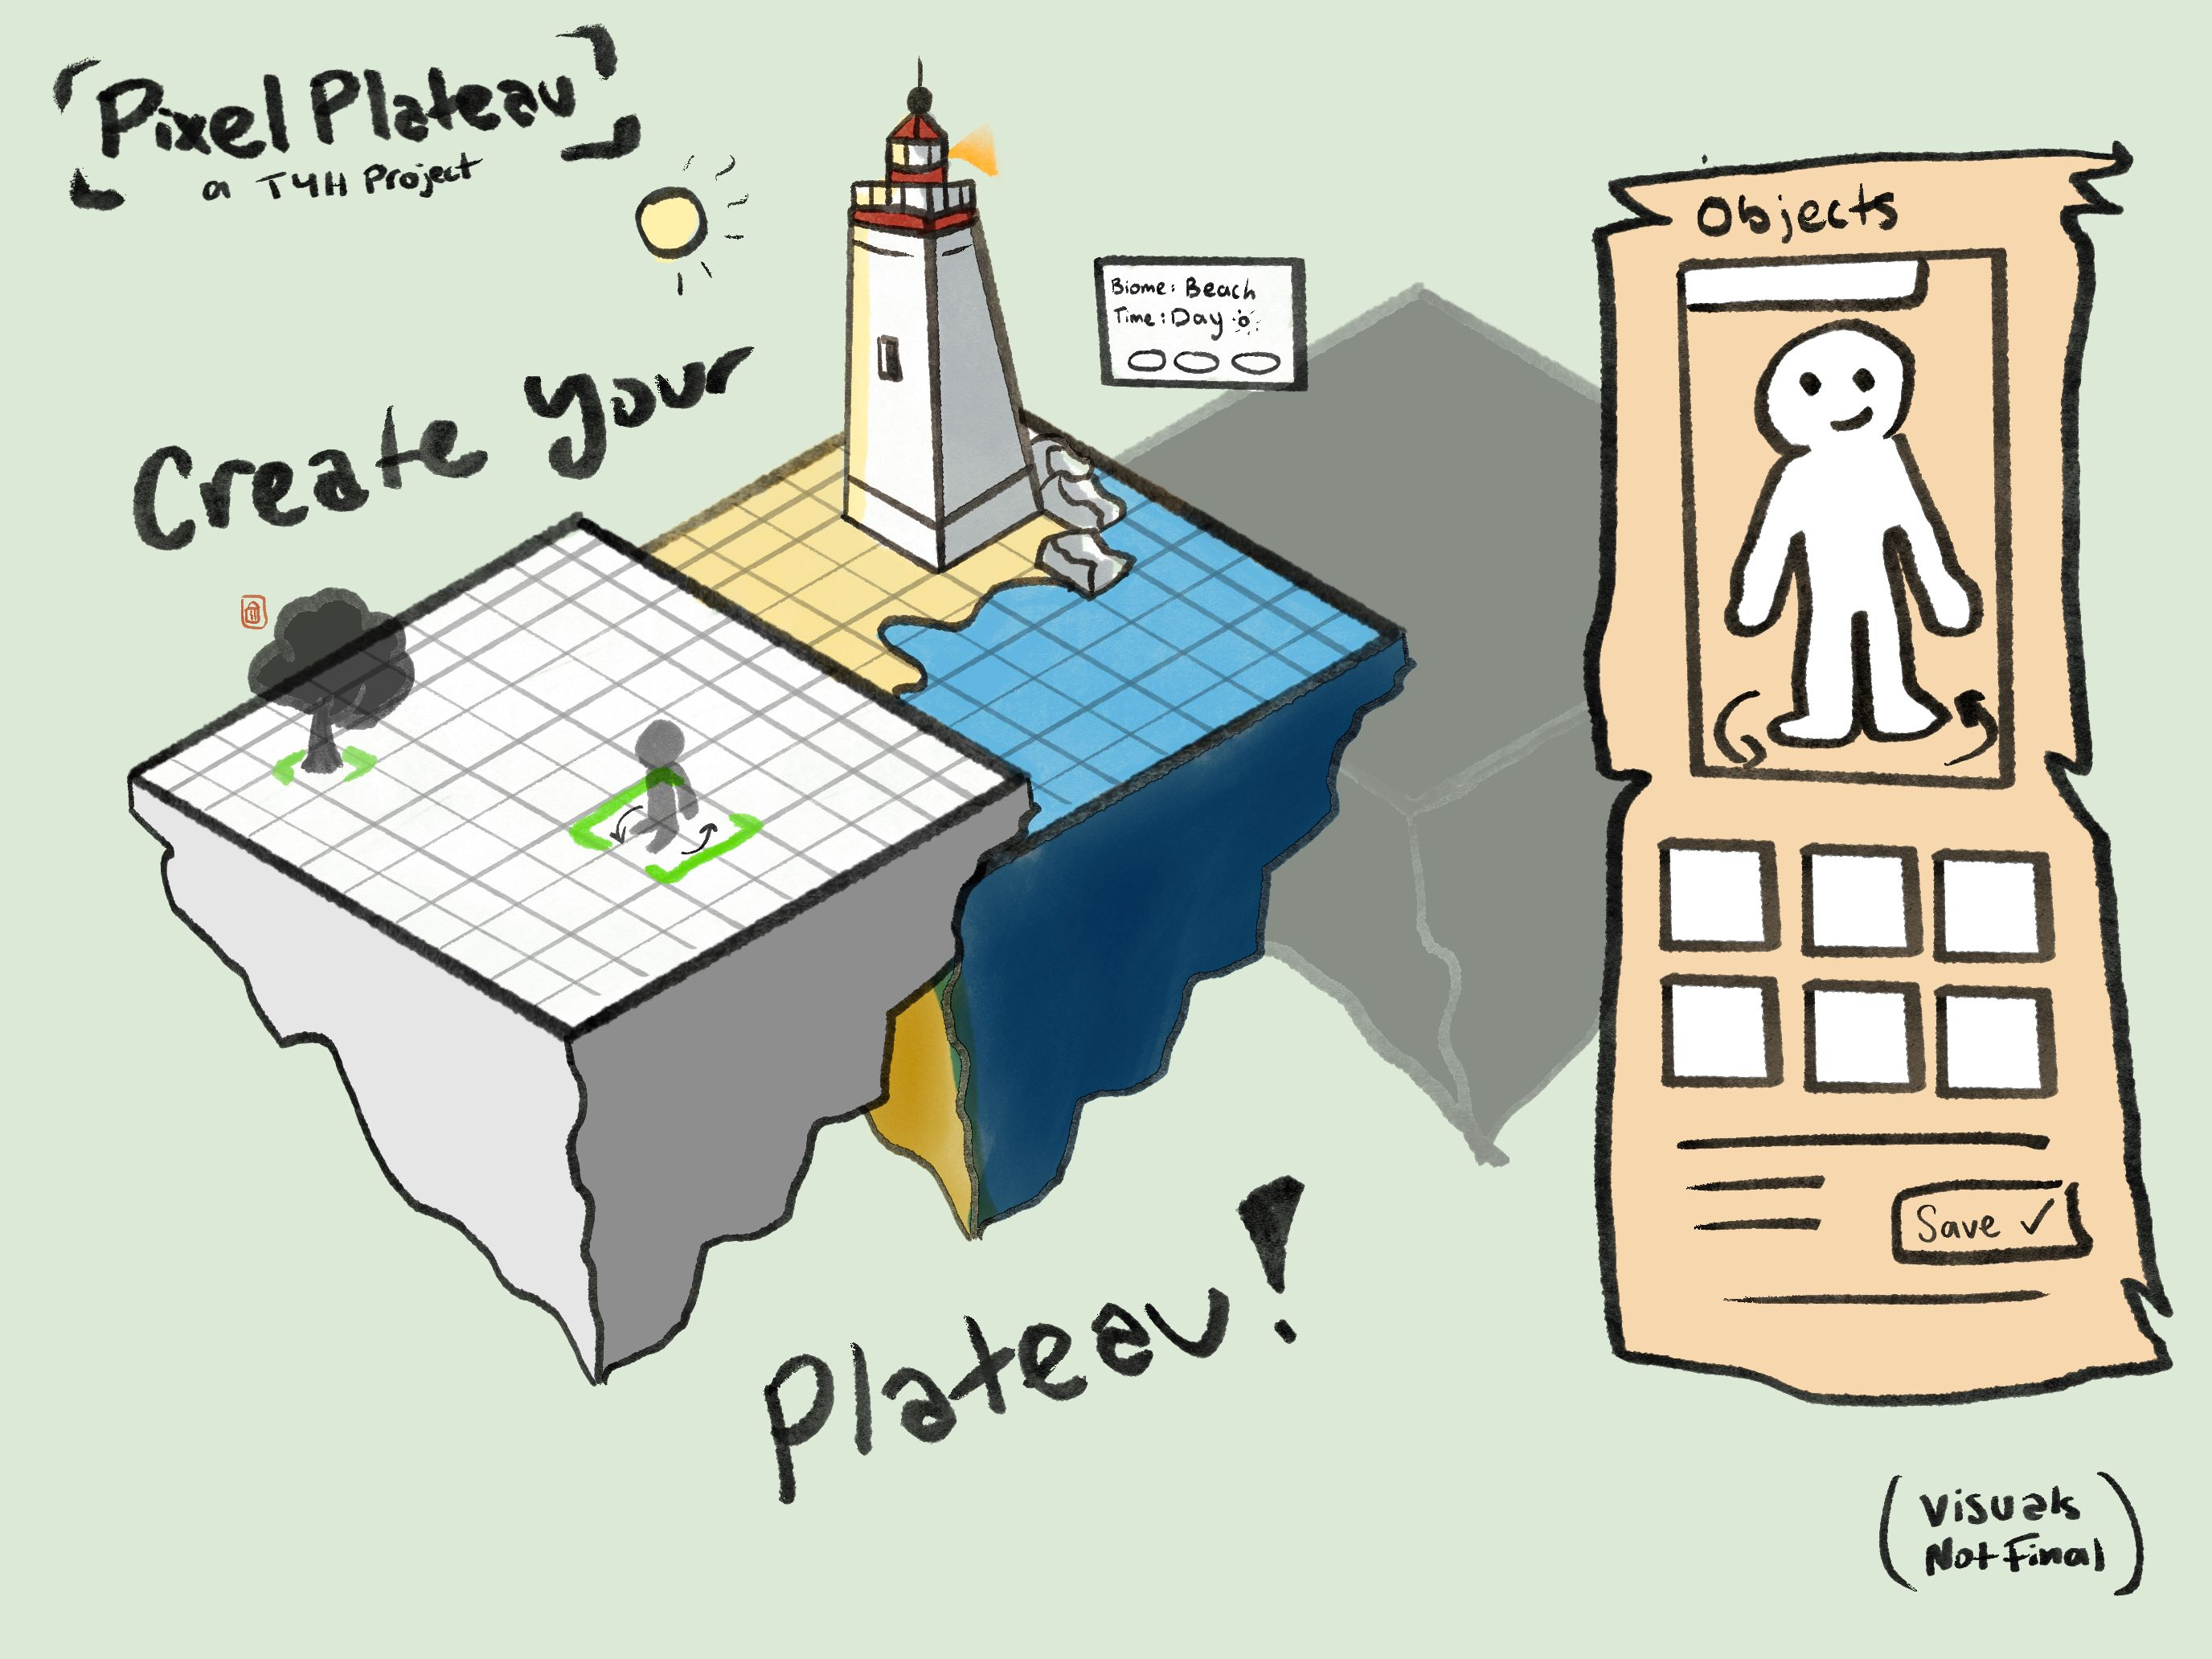
The first pitch we developed is “Pixel Plateau”, a 3D sandbox game created using Blender (which would later be scrapped for MagicaVoxel), Unity, Aesprite, and Figma. In the game there will be a customizable floating island that you can customize with a wide-variety of different objects, environments, characters, and more. Create your very own island to your liking in a 3D environment of your creation.
We recieved alot of feedback about the scope and the features of the game, being a broad topic, it had a bit of an identity crisis being compared to many different games in the genre, each of which had their own identities, audiences, and direction. Going forward, we kept this in mind as we continued to carve out the concept.
Module 2: Prototype
Research
Notion Process Doc: https://fixed-circle-6f3.notion.site/Project-2-31bf87a692e3801cbb6eddf7db802320
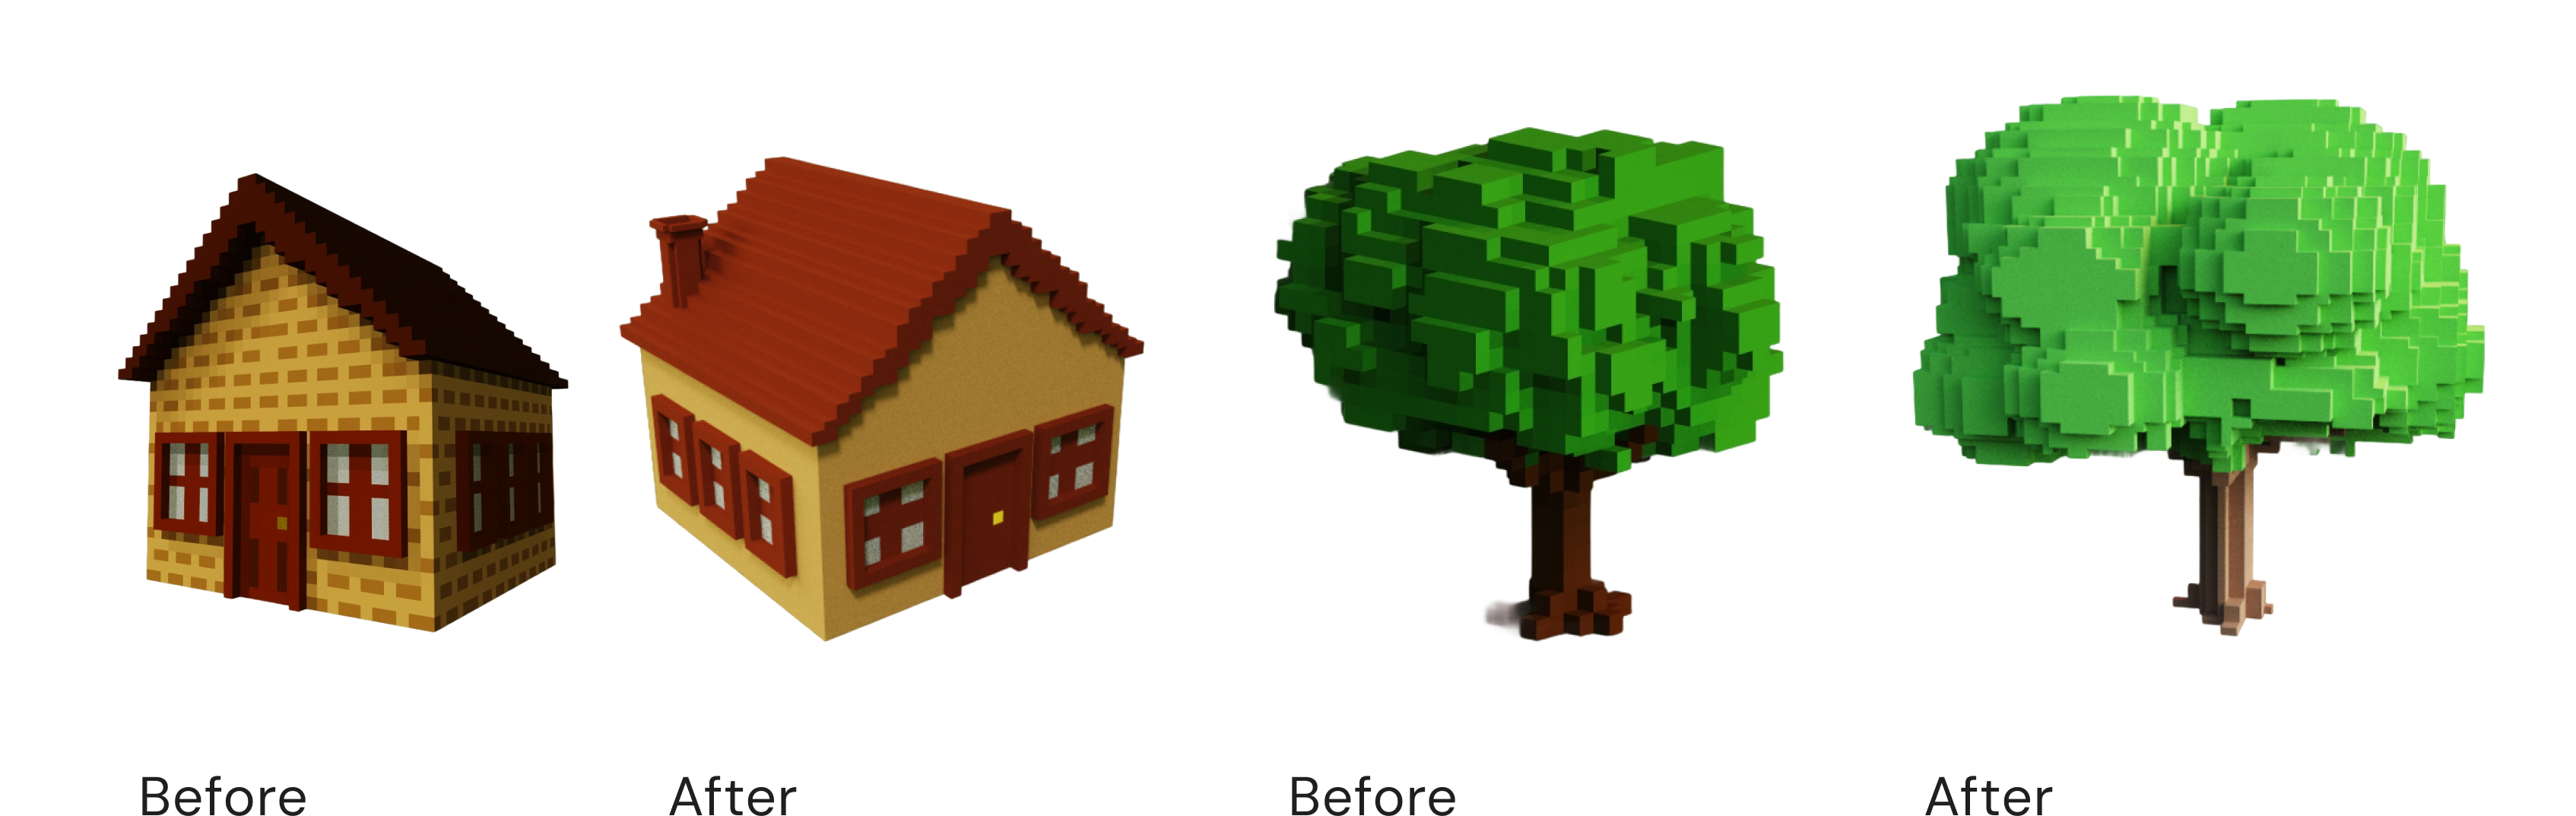
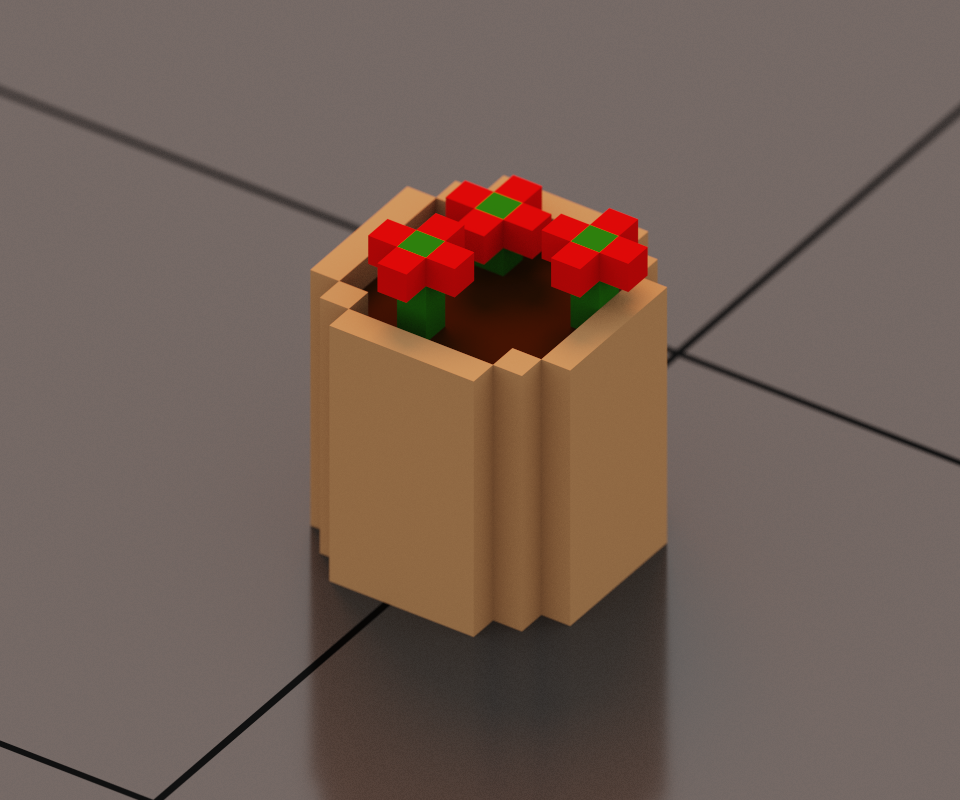
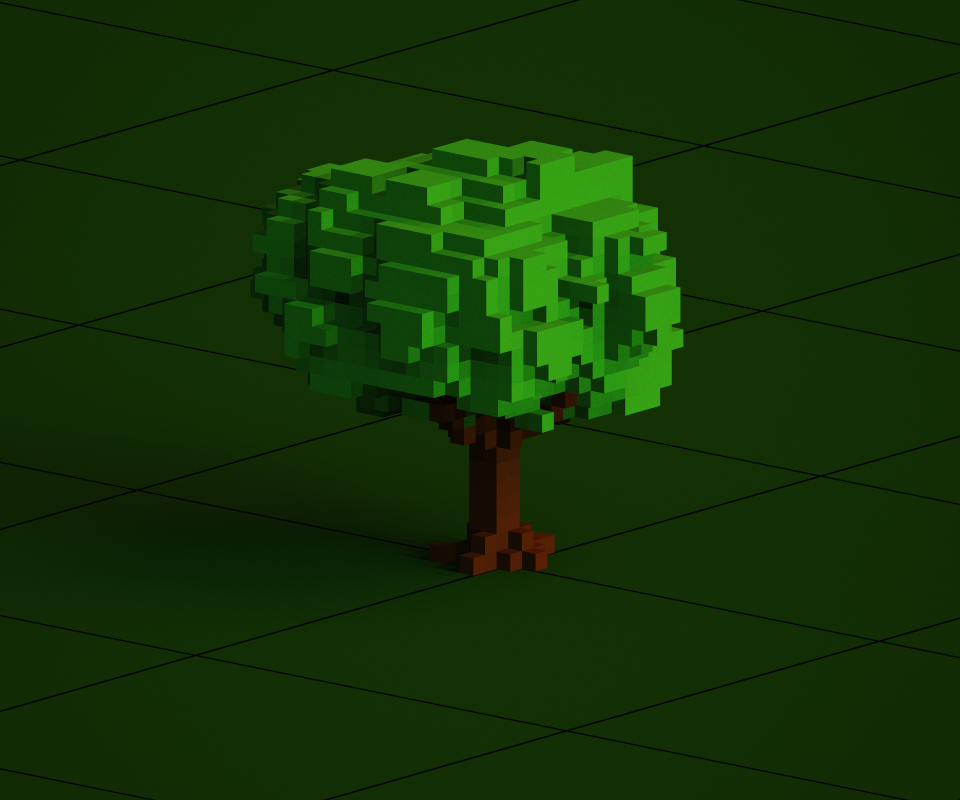
Project 2 consisted of our group fully diving into the software and seeing how things work and adjusting our approach and the scope of our idea to fit the time remaining in the term as well as the logistics of achieving our project goals. We divided the work between group members, with Tim and Mikaela focusing on learning Unity to build out the fundamental groundwork for our game and Callan and I working in MagicaVoxel to create models/assets. Through Action Research, I explore the tools of how to create models efficiently in MagicaVoxel and explore deeper how to implement that into our game concept. (We ultimately decided to move on from Blender as restricting the models to be voxel based was deemed the most efficient route forward)
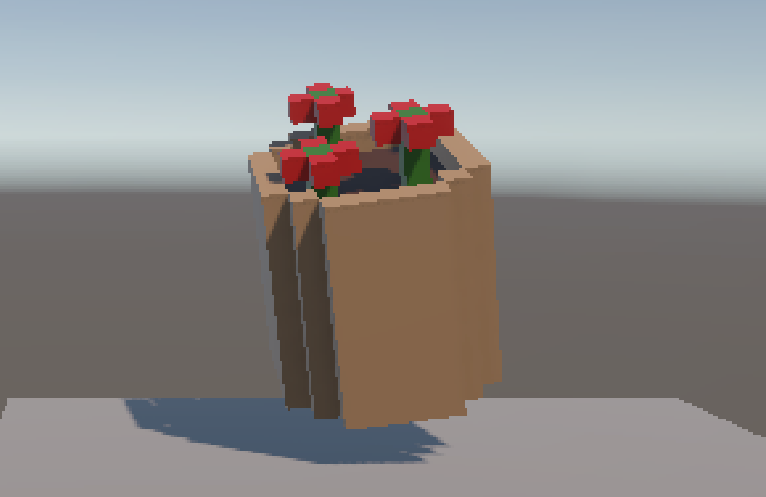
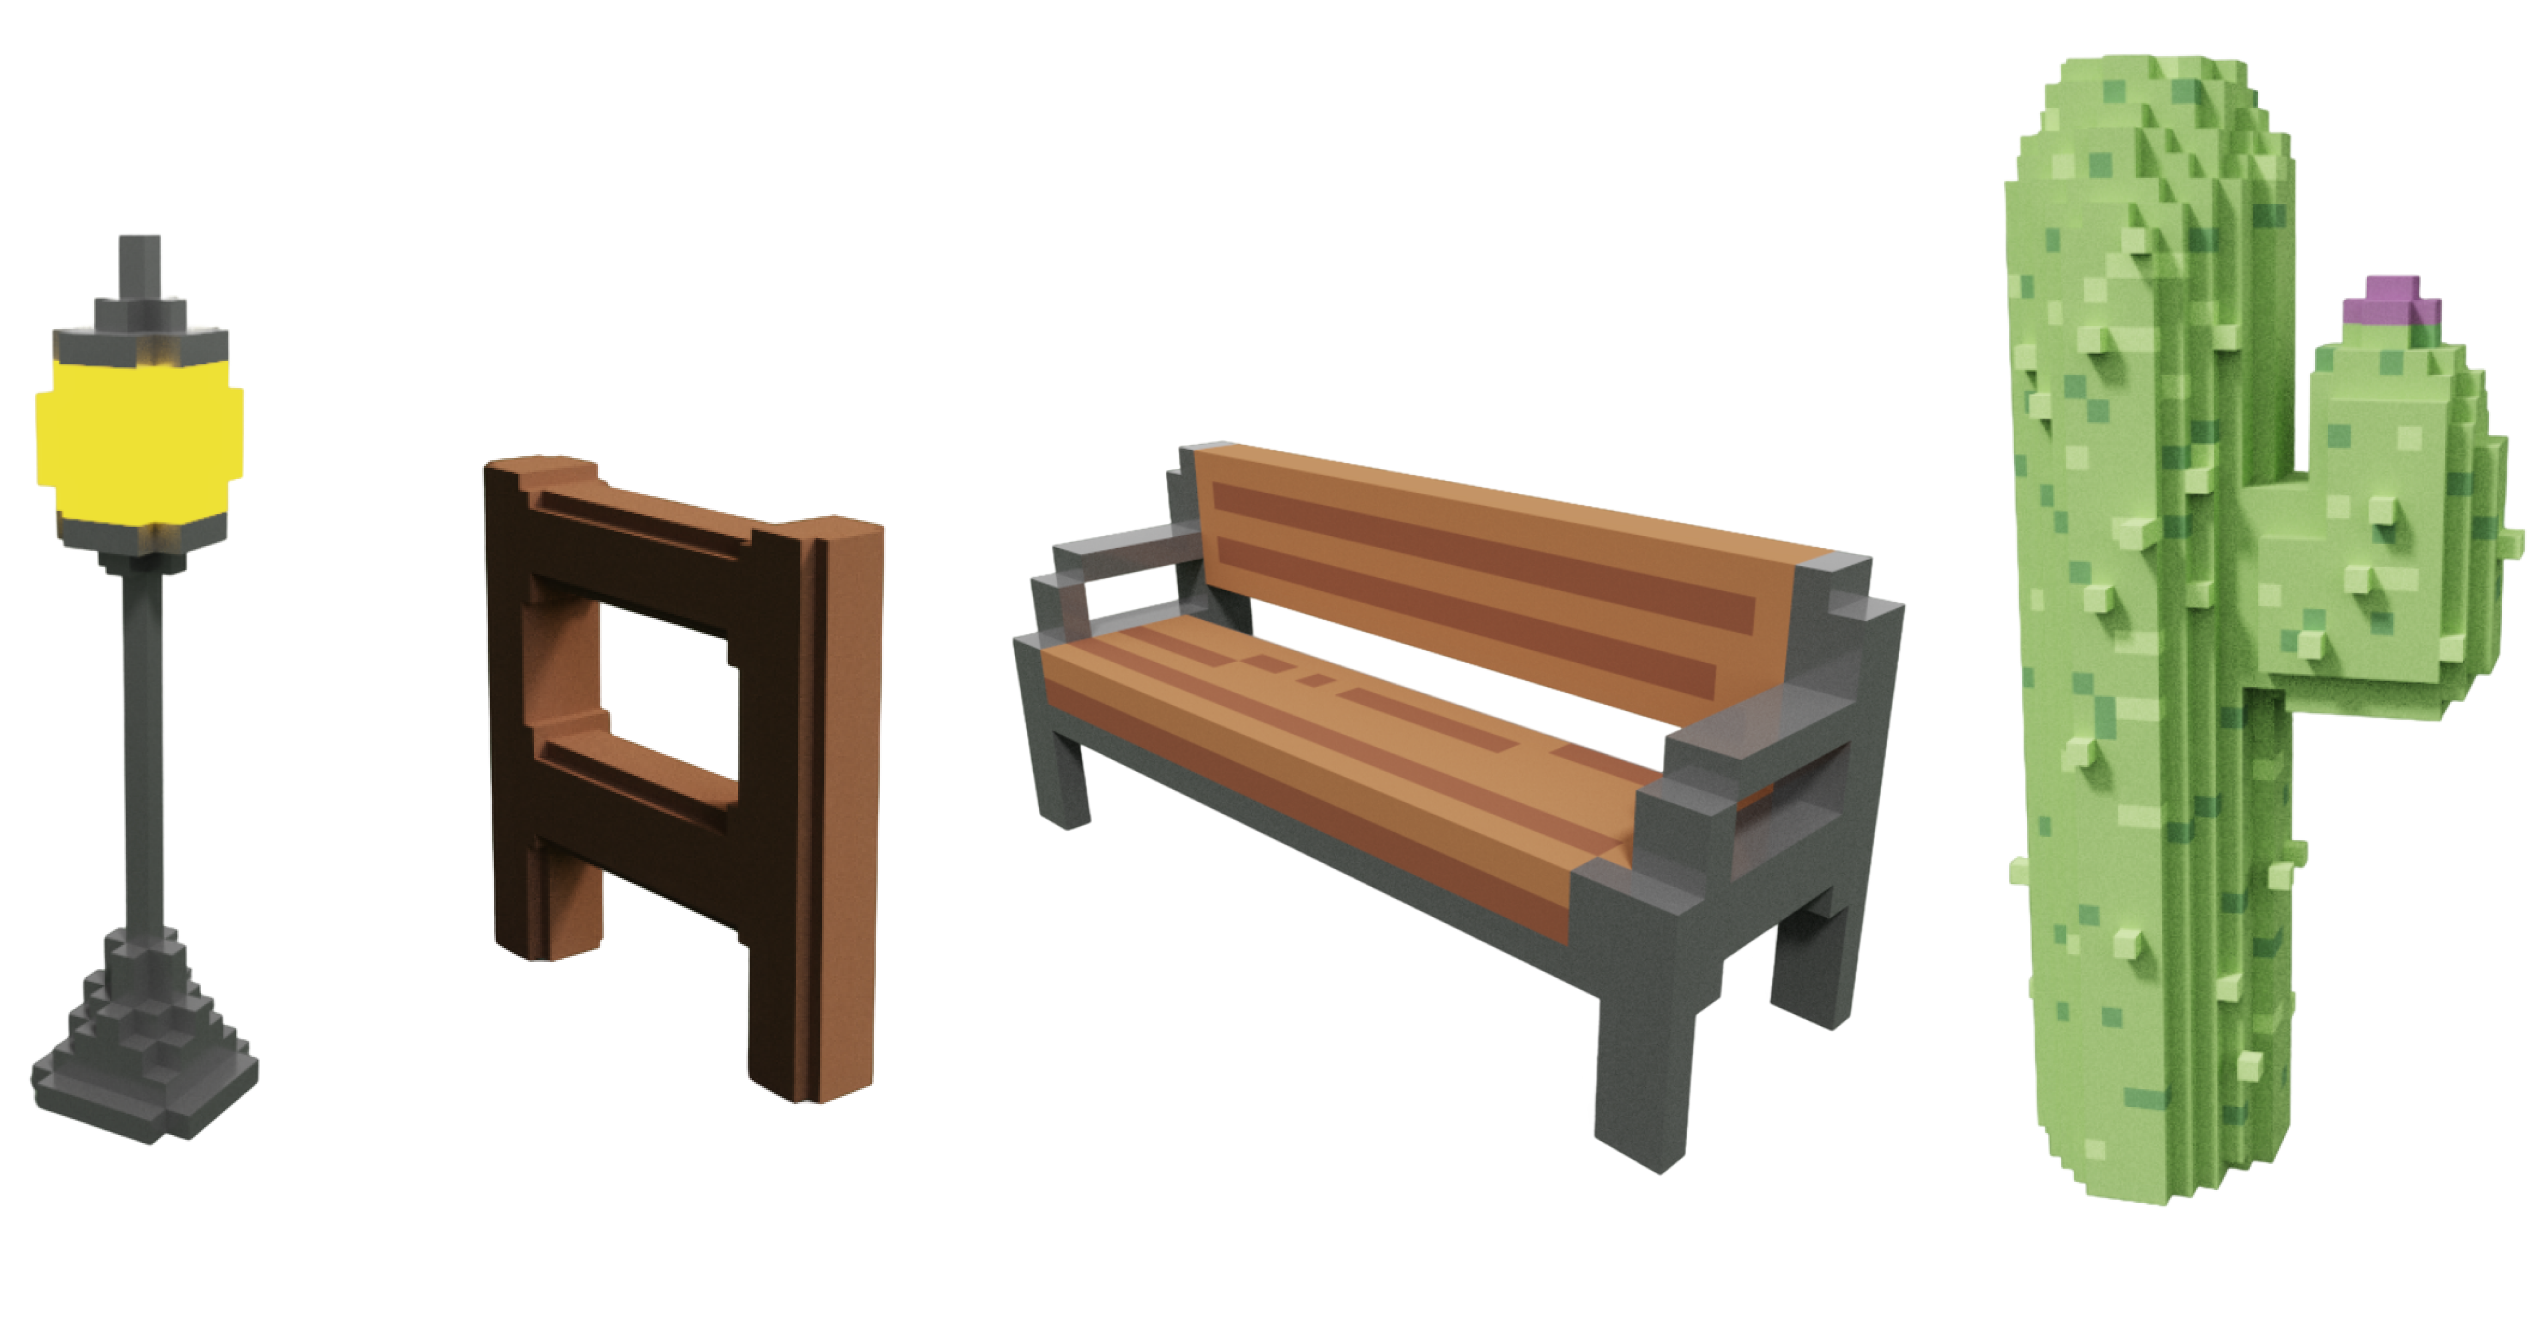
For Project 2, Callan and I were responsible for getting on this software and learning the basics on how to build models, environments, and how to bring it over to Unity for use in Pixel Plateau. While Callan focused on building the ground tiles and blocks, I created props/assets.
Through watching tutorials I was able to understand the essentials of MagicaVoxel in order to develop an effective workflow creating, texturing, and exporting models to be used in Unity at a high output volume. Due to the simplicity and intuitive nature of MagicaVoxel it was quite easy to pick up and apply external knowledge of similar design software to.
Action research was applied through first researching about the software, then experimenting with it myself, using both my experience playing around and the tutorials to create models before finally having said models be critiqued by peers and exported to Unity for testing.
Action Research Phase 1
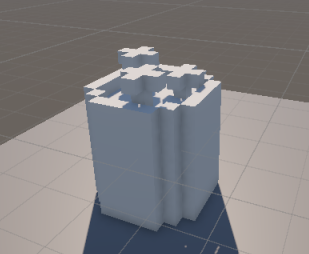
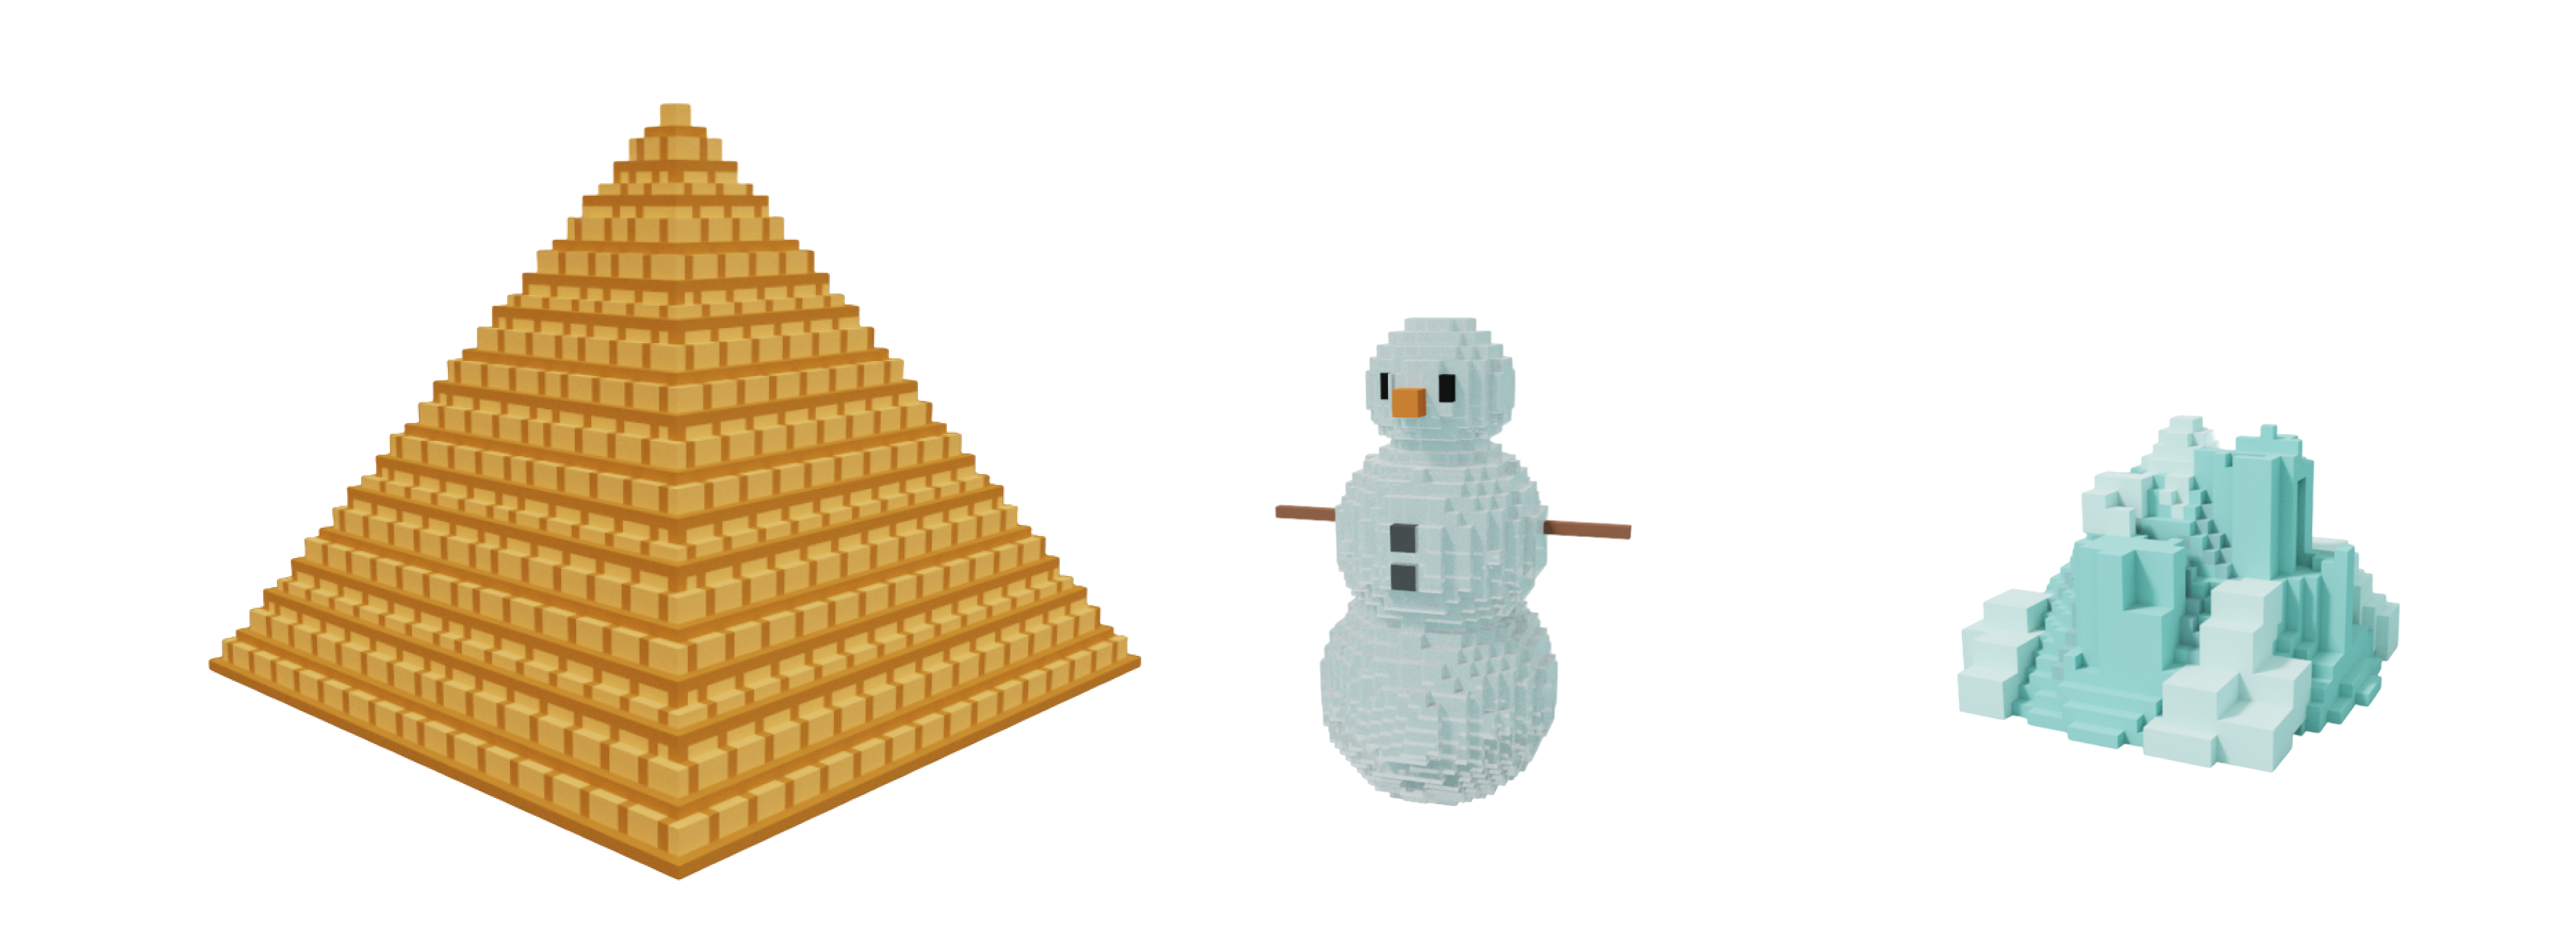
MagicaVoxel is an open-source, free beta program that uses low voxel styled 3D modeling. Voxels are the three-dimensional pixels that make up a model. In this style, these voxels are at a large scale, generating a pixelated effect similar to how pixel art is created with 2D sprite art. With this software, the goal is to create retro, sprite styled models to be used in our game, giving it a consistent pixelated style without needing to create individual sprite textures for models made somewhere like blender or c4d, or needing to apply any external filters to achieve this effect. By having the models themselves be low-poly in this voxel artstyle, this effect is achieved in a streamlined and efficient format. I started out by learning the basics, following tutorials like this one from shutterstock to get a feel for the tools and how to create models.

Action Research Phase 2
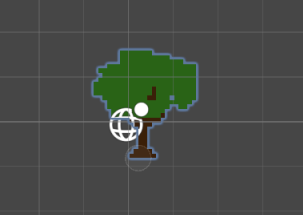
At first when I brought a model over, Unity had automatically set the scene to be in a 2D sprite format which confused me at first as my environment did not match the tutorial. The model had the textures already but it lacked the base lighting and would not respond to any lighting I put in place and when rendered, only appeared as a 2D flat sprite with no depth. After restarting Unity and creating a new project, I was able to then import the model into the default, 3D environment where I was then able to complete the steps of the tutorial to import the model and then create a new material to attach to the png texture sheet that is exported with the OBJ.